Edit: It’s been almost three years since I painted my dishwasher and it’s still holding up well. I would definitely recommend this product!
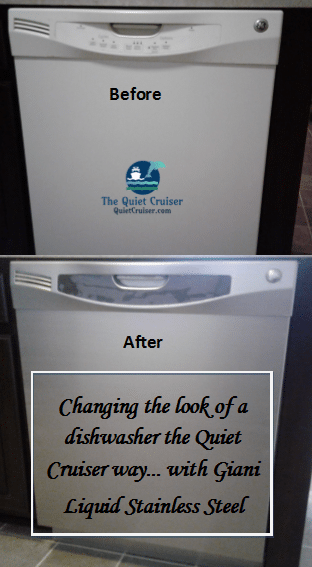
Giani Liquid Stainless Steel Paint for Dishwashers
Okay, I know that this isn’t a cruising or travel review, but Quiet Cruisers have homes too, don’t they? Well, I wish that I lived on a cruise ship all of the time, but even I have to come home and take care of my house. And this is where the Giani Liquid Stainless Steel Paint comes into play.
Redecorating
Recently, while waiting on my next cruise to Cuba, I’ve been trying to update my kitchen. The tops of my cabinets contained a lot of old collectibles, but I wanted something new and modern and homey. So, I painted the accent wall a beige color. Then I added a large wall clock, along with an assortment of artificial greenery and vases. Yes, I know you’re not supposed to use artificial greenery. If I used live greenery, I assure you, my cat, Dickens, would find it, and I don’t want him on top of the cabinets.

But my Dishwasher doesn’t match
And after doing all of that decorating, I looked at my nice stainless steel stove and microwave, and then at my white dishwasher and fridge. Not good. My fridge is about 12 years old, and is white textured, so I guess that I’m going to have to wait for stainless till it dies. But my dishwasher is fairly new, and we hopefully won’t be replacing it soon. I started searching the internet for ideas.
I came across an article on Giani Liquid Stainless Steel paint and read all of the reviews. The reviews were pretty much favorable, so I decided to try it out. I have to admit, I was a bit nervous. So, I ordered it from Amazon.com for $24.95. I had never tried any products like this before, so I really was taking a leap of faith here. I am a do it yourselfer, and usually I can do a pretty good job.

Tools needed
Once the paint came I had a three day weekend to get the job done. I started by assembling all of my supplies. The paint kit comes with a small can of the stainless steel paint, a small can of gloss, and a paintbrush. I used window cleaner and Clorox wipes to clean the Dishwasher thoroughly and then used alcohol after all the cleaning just to be sure it was totally clean.
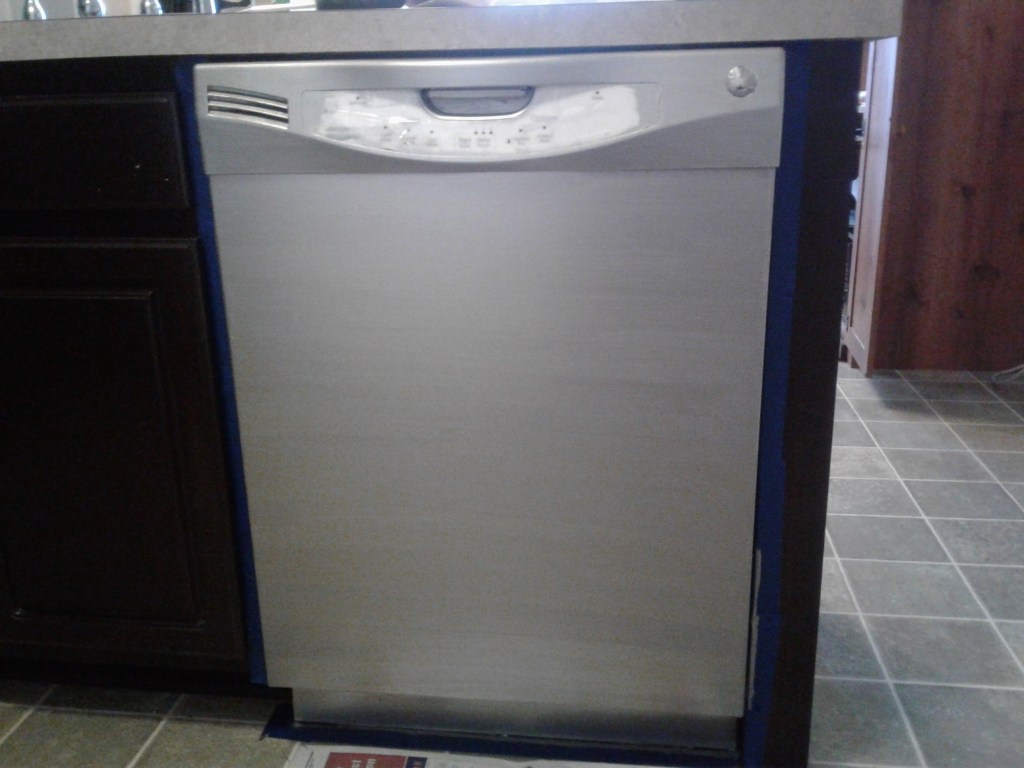
Blue painters tape was used to tape up the floor close to the bottom of the dishwasher and the cabinets to each side of the dishwasher. I tried using painters tape to tape up the control panel and the brand logo, but I found that it did not stick well and ended up using shipping tape for those areas. An exacto knife was used to cut away the excess tape around those areas. Fine sandpaper was what I used to sand the plastic parts of the dishwasher. I had wanted to paint that area black, but decided it would be easier and neater to paint that area stainless steel also. And I used primer after I sanded.

Step One
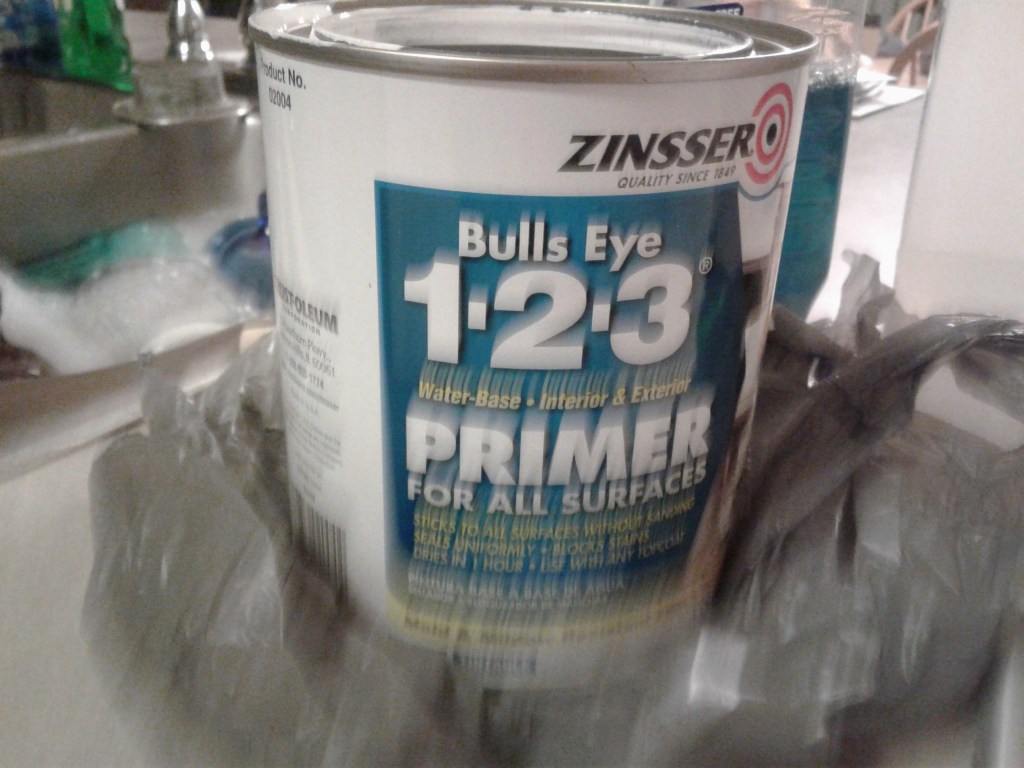
Tape up every surface that is close to the appliance. Sand any plastic that you want to paint. I used 150 grade sand paper. Clean every single surface thoroughly. Make sure that there is no grease that you can’t see with the naked eye. It will show up under the stainless steel paint. I cleaned first with Clorox wipes, then windex, and then alcohol. Then prime the plastic with the primer. I used two coats. You do not need to prime the metal. Then watch the video on how to do this on the website to get an idea of what you’re doing.
Step Two
Open up the stainless steel paint. It’s a small can, but it will do the job. And there is no strong smell. Dip the foam brush a small way into the can, and then wipe off the excess. Start on one side of the dishwasher, and move the brush without lifting all the way to the other side, in one smooth stroke. For your next stroke, start on the opposite side of the dishwasher and do the same thing. Keep alternating starting sides. I found in this first coat that I had missed a few grease spots in my cleaning. I also found that if I took a paper towel and wiped the spot good, it would come off, and I could go over that paint again without re-wetting the brush, and it was okay.
Watch out for drips, they will dry that way and then you’re stuck with them. I used a smaller foam brush that I bought at the store for the plastic area around the control area, trying to keep the strokes as smooth as possible. Then I did the sides of the door with one up or down stroke. This first coat will look awful. Don’t worry, it gets better. Let dry at least one hour. Don’t forget the bottom floor panel of the dishwasher.

Step Three
After an hour has passed, do the same thing over again, being sure to alternate stroke directions. Repeat this until you have the look that you want. I ended up doing 6 coats of the stainless steel. It would have been okay with 5, but there was a spot that was driving my OCD nuts. After you do your last coat, wait a minimum of two hours. After you’re done painting the stainless steel, clean out your brush(es) with water and let dry. (I kept my brushes in a Ziploc bag between stainless coats to keep them soft.)
Step Four
I waited till the next day for this step…the clear gloss coat. Do the clear gloss coat the same way that you did the stainless steel. Use the same brush after it’s been washed free of the stainless paint. You can use as many coats of the clear gloss as you want. I used three coats, and I’m happy with the look. Let each coat dry for an hour before the next coat. After you’re done, take the exacto knife and score the edge of every area that has tape on it before you pull off the tape. You don’t want to pull off the paint too. Then remove all tape.
Step Five
This was my hardest step, and I’m not entirely happy with how it turned out. It has nothing to do with the stainless steel paint though. I did not want a white control panel on my stainless steel dishwasher. I decided to get some light black headlight tint film and use it to cover the area. Not in my area of expertise at all, but how hard could it be? Let me tell you, pretty hard! I could get it on, but I could not get the bubbles out, and I could not seem to trim it to fit with the exacto knife just right. I tried about four times, and got pretty frustrated.
My husband finally took over, and did a pretty good job of it. Way better than I could have. And then, after I pulled the tape off of the round logo area, I saw that some of the primer had gotten in somehow. OCD time again, so I took some nail polish to try and remove it. Let me tell you, don’t do that! I took off all of the black paint on the logo and the gloss. And now it looks horrible. I’m in the process of trying to get a new logo button from the manufacturer.
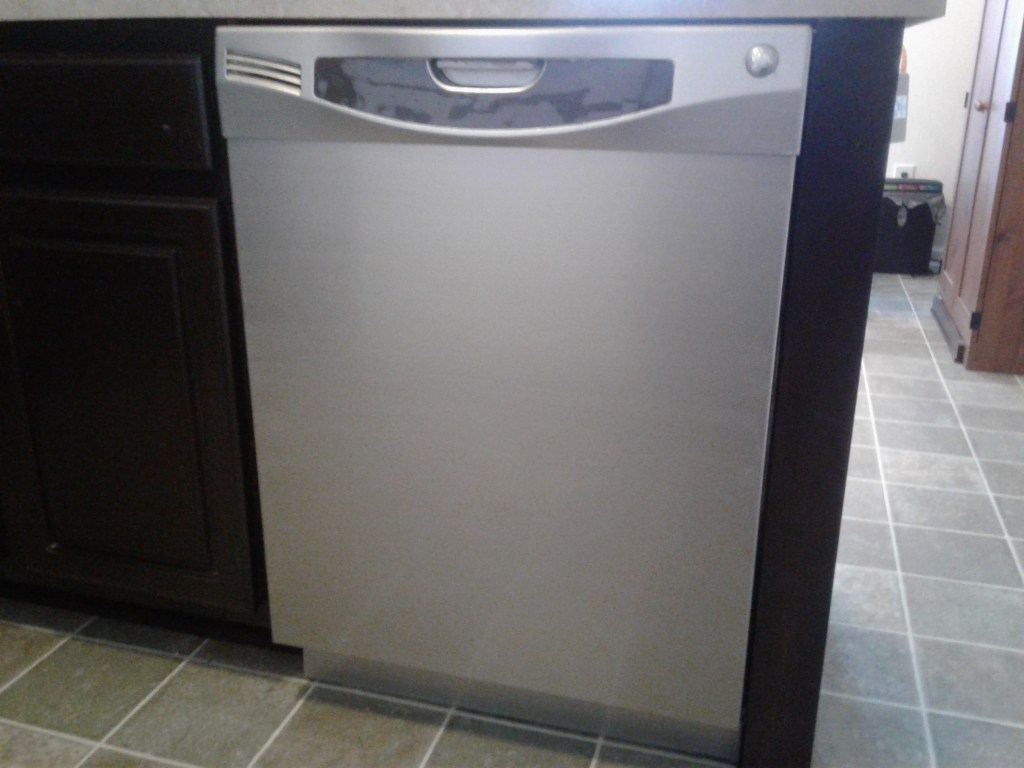
Final Results
I am very happy with how the stainless steel looks after 6 coats. It’s more gray than my other stainless steel appliances, but it’s not really sitting close to them, so you really can’t tell that much. I would definitely use it again. It was not a hard job at all, but it is time consuming. I did it over a three day weekend, but I’d say to keep at least two days open. You’re not working on it constantly, but the drying time makes it a slower process. I am not happy about how the control panel and logo look, but that has nothing to do with the stainless steel product. Be sure not to use magnets on it for at least two weeks though. Don’t want to ruin it after you worked so hard beautifying your appliance.